How To Convert Your Website Into A Farcaster Mini-App (Obsidian Digital Garden Example)
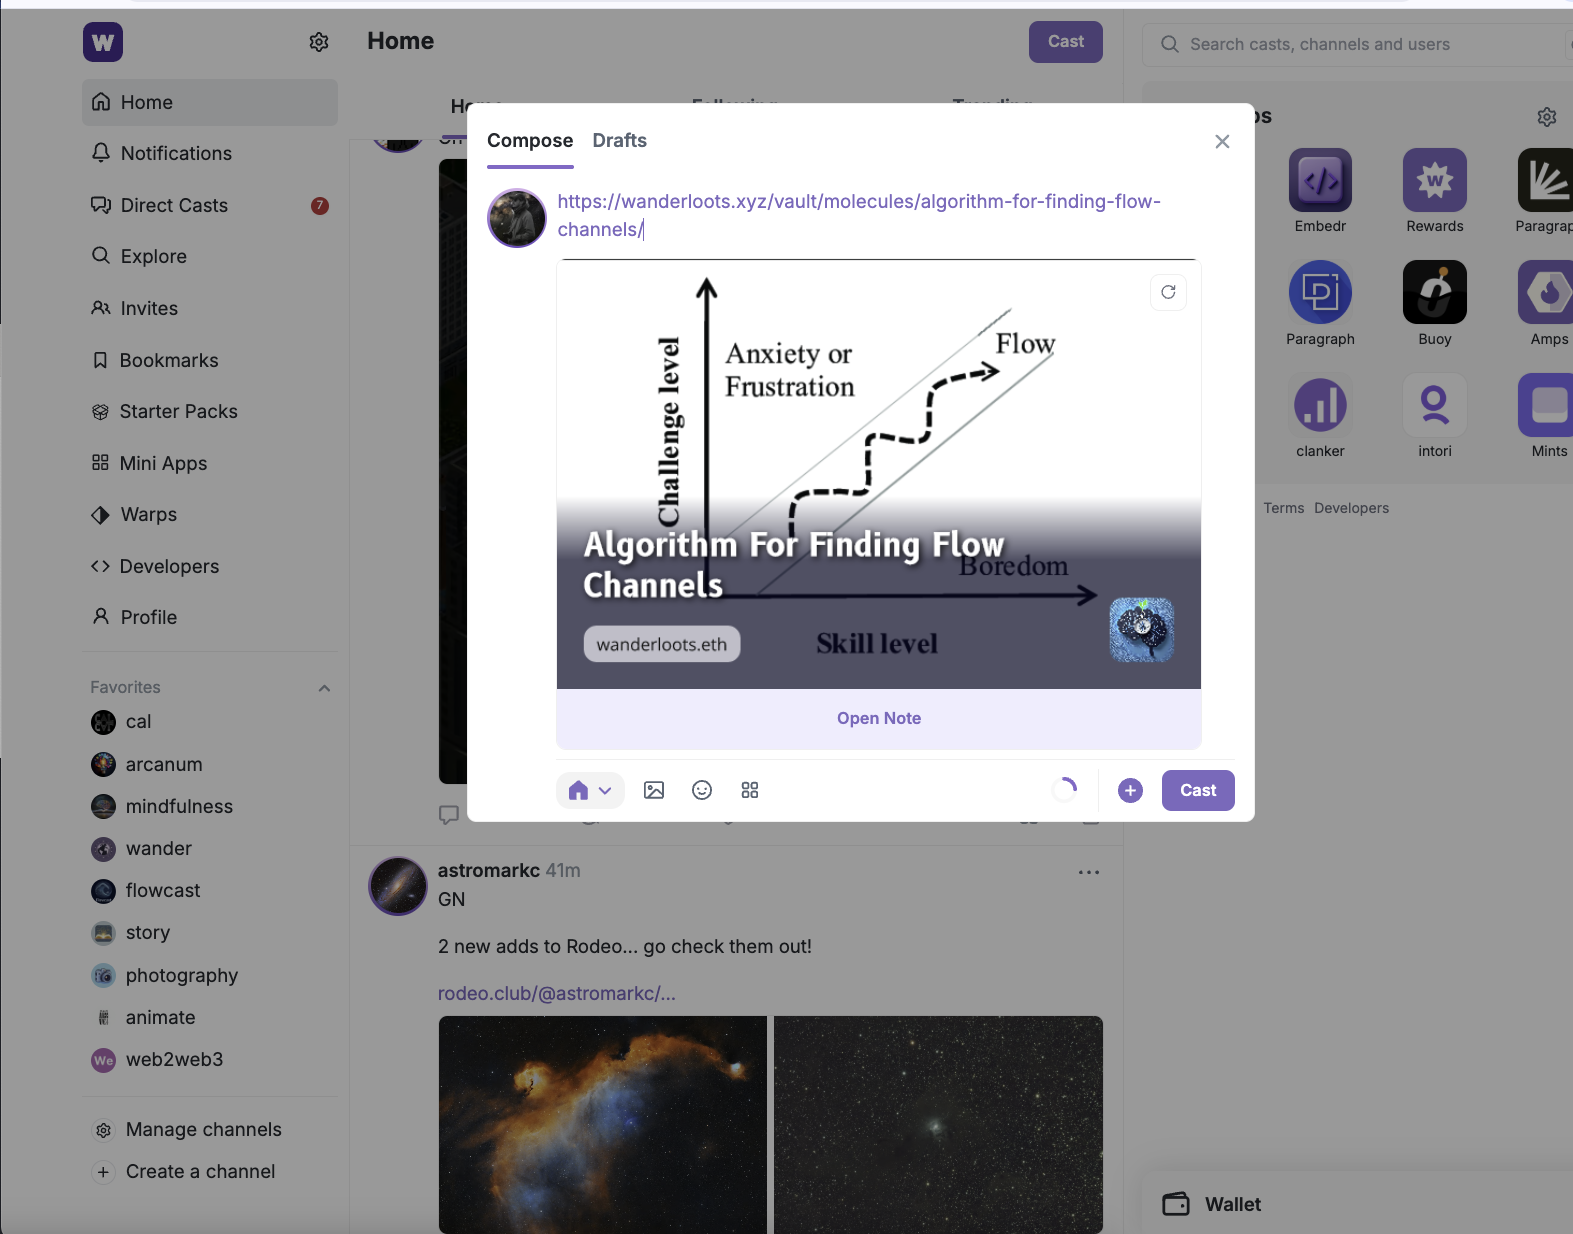
example of the view for Algorithm For Finding Flow Channels
How to Turn Your Existing Website Into A Farcaster Mini-App
This tutorial is a walk-through on how you can convert an existing website into a mini-app on Farcaster. Regardless of whether you are interested in Farcaster or mini-apps, the tutorial flow will help you understand how you can connect AI coding tools like Google AI Studio with Gemini 2.5 Pro to a coding workflow, even as a non-coder.
Since so many of you are interested in digital gardens, I thought the best way to get going would be to start with my digital garden website (what you're reading right now), as this is the best way I have found to publish my Obsidian notes effectively.
If you've never used Farcaster before and want to check it out, let me know, and I can give you an invite link to cover the sign up cost (~$1 I believe).
Suggested Prerequisites:
- A website
- E.g., Obsidian Vault Digital Garden Plugin How I Published My Obsidian Notes Website For Free 🏡 Digital Garden
- Site deployed via GitHub (e.g., Netlify, Orbiter, Vercel)
- Basic familiarity with VSCode (or your preferred code editor) and GitHub Desktop (with Git installed)
The Core Idea: We'll modify your site's templates to include Farcaster-specific meta tags and add a configuration file for Farcaster clients.
Tools Needed
Tools needed/suggested:
- GitHub Account
- Website Repository
- Obsidian
- digital garden plugin
- 11ty static website builder
- hosting provider (netlify, vercel, orbiter)
- GitHub Desktop
- ngrok
- VSCode (or other code editor)
- e.g., Cursor AI
- Farcaster account
- AI LLM coding specialist (I'm using Google AI Studio with Gemini 2.5 Pro)
- website & SDK context for the AI
- llms-full mini-app.txt
- frames-llm-docs-main.zip
- digital-garden-without-notes.zip see How I Published My Obsidian Notes Website For Free 🏡 Digital Garden
Step-by-Step Guide:
-
Branch Your Repository:
- In GitHub Desktop, create a new branch (e.g.,
farcaster-mini-app) from your main branch. This keeps changes isolated.
- In GitHub Desktop, create a new branch (e.g.,
-
Add Farcaster SDK & Meta Tag:
- Open your project in VSCode.
- Locate your note template file (usually
src/site/_includes/layouts/note.njk) and your homepage template (src/site/_includes/layouts/index.njkor similar). - Just before the closing
</head>tag in both files, add:<script src="https://cdn.jsdelivr.net/npm/@farcaster/frame-sdk/dist/index.min.js" defer></script> <meta name="fc:frame" content='{"version":"next","imageUrl":"YOUR_DEFAULT_PREVIEW_IMAGE_URL","button":{"title":"Open Note","action":{"type":"launch_frame","name":"YOUR_APP_NAME","url":"YOUR_LIVE_SITE_URL{{ page.url if page.url != '/' else '' }}","splashImageUrl":"YOUR_SPLASH_IMAGE_URL","splashBackgroundColor":"YOUR_SPLASH_BG_COLOR_HEX"}}}' />- Replace placeholders:
YOUR_DEFAULT_PREVIEW_IMAGE_URL: A 3:2 aspect ratio image (e.g.,https://yourdomain.xyz/img/default-preview.png).YOUR_APP_NAME: E.g., "My Digital Garden Frame".YOUR_LIVE_SITE_URL: Your full site URL (e.g.,https://wanderloots.xyz). The{{ page.url if page.url != '/' else '' }}part dynamically adds the specific note path or an empty string for the homepage.YOUR_SPLASH_IMAGE_URL: A 200x200px image.YOUR_SPLASH_BG_COLOR_HEX: E.g.,#2a2a2a.
- Replace placeholders:
- Just before the closing
</body>tag in both files, add:<script> document.addEventListener('DOMContentLoaded', async () => { if (window.frame && window.frame.sdk) { try { await window.frame.sdk.actions.ready(); console.log('Farcaster Frame SDK ready.'); } catch (error) { console.error('Error SDK ready:', error); } } }); </script>
-
Create
farcaster.jsonManifest:- In your project, navigate to
src/site/and create a new folder named.well-known. - Inside
.well-known, create a file namedfarcaster.json. - Paste the following content, replacing placeholders with your live site URL and app details:
{
  "accountAssociation": {
    "header": "PLACEHOLDER_WILL_BE_FILLED_LATER",
    "payload": "PLACEHOLDER_WILL_BE_FILLED_LATER",
    "signature": "PLACEHOLDER_WILL_BE_FILLED_LATER"
  },
  "frame": {
    "version": "1",
    "name": "YOUR_APP_NAME",
    "iconUrl": "YOUR_LIVE_SITE_URL/favicon.svg",
    "homeUrl": "YOUR_LIVE_SITE_URL/",
    "imageUrl": "YOUR_LIVE_SITE_URL/img/default-og-image.png",
    "buttonTitle": "View Note",
    "splashImageUrl": "YOUR_LIVE_SITE_URL/img/your-splash-icon.png",
    "splashBackgroundColor": "#YOUR_HEX_COLOR"
  }
}
- In your project, navigate to
-
Update Eleventy Config:
- Open
.eleventy.jsin your project root. - Inside the
module.exports = function(eleventyConfig) { ... }block, add this line (usually before thereturnstatement):eleventyConfig.addPassthroughCopy(".well-known"); - This ensures the
.well-knownfolder (withfarcaster.json) is copied to your build output.
- Open
-
Test with ngrok & Replace URL Placeholder Names
- start local host by opening a terminal in VS Code
- write "npm run start" to start your local host
- use ngrok to "tunnel" the local host, creating a URL that makes it available to external platforms like farcaster
- copy the ngrok URL and replace your placeholder URLs throughout the the edited notes (note.njk, index.njk, farcaster.json)
- Close the local host server (cmd + c or ctrl + c)
- Restart the local host server with "npm run start" to run it with the ngrok URLs
-
Test ngrok URL In Warpcast Debugger
- go to https://warpcast.com/~/developers/mini-apps/debug
- paste in the ngrok URL from the previous step
- test the embed preview and that the app works properly
- NOTE: I had to wait about 10 minutes before it worked the first time
- test the feed embed preview
- if it works, we're ready to merge the mini-app branch with the main branch of the website
-
Commit, Push, and Deploy:
- Commit all changes in GitHub Desktop to your
farcaster-mini-appbranch. - Push the branch to GitHub.
- Merge this branch into your main deployment branch (e.g.,
main) via a Pull Request on GitHub. - Wait for Netlify to build and deploy your site.
- Commit all changes in GitHub Desktop to your
-
Generate Farcaster Signature:
- Once your site is live with the new
farcaster.json(containing your live URLs and placeholders for the signature), go to the Warpcast Farcaster JSON Tool. - Enter your live domain (e.g.,
wanderloots.xyz). - Click "Sign Message" and sign with your Farcaster-connected wallet.
- Copy the generated
"accountAssociation": { ... }JSON block.
- Once your site is live with the new
-
Add Signature, Replace Test URLS, Redeploy:
- Open
src/site/.well-known/farcaster.jsonin VSCode again. - Replace the placeholder
"accountAssociation"block with the one you just copied from the Warpcast tool. - Replace all instances of the ngrok URL with your live domain (e.g., https://wanderloots.xyz)
- replace in farcaster.json, note.njk, & index.njk (or your respective template files)
- Commit this change, push, merge, and wait for Netlify to redeploy.
- Open
Testing:
- Verify
farcaster.json: Go tohttps://YOUR_LIVE_SITE_URL/.well-known/farcaster.json. Ensure it loads with the correct signature. - Warpcast Debugger: Use https://warpcast.com/~/developers/mini-apps/debug with a URL from your site (e.g.,
https://YOUR_LIVE_SITE_URL/notes/your-note-slug/). You should see a preview. - Share on Warpcast: Cast a link to one of your notes. It should unfurl into a Frame V2 embed. Clicking the button should open your note within the Farcaster client.
Congratulations! Your Digital Garden notes are now a Farcaster Mini-App. This basic setup allows any page of your garden to be shared as an interactive frame.
From here, you can explore more advanced features like dynamic images or custom frame actions, which I'll get into more in the next tutorial.